
A floor mat is one of the most overlooked branding opportunities in any business. It sits at your entrance, greets every visitor, and stays in sight for years. And unlike a banner or a poster, a custom printed floor mat works 24/7 — while also doing the practical job of catching dirt and moisture.
In this guide, we’ll walk through everything you need to know about custom printed floor mats: the printing methods available, which base materials work with each, how to prepare your artwork, and what to expect when ordering in bulk from a manufacturer.
Why Custom Printed Floor Mats Are Worth It
If you’re on the fence about investing in printed mats, consider what they do for you:
- Constant brand exposure: Every person who walks through your door sees your logo. A mat at the entrance can generate thousands of impressions a month.
- Practical function: Unlike a sticker or decal, a floor mat actively keeps your floors cleaner and reduces slip risk.
- Wayfinding: Printed directional mats help guide customers through retail stores, showrooms, and hotels.
- Promotional gifting: Printed mats make excellent corporate gifts and trade show giveaways.
- Cost per impression: A well-made printed mat lasts years, making the per-day cost extremely low.
Printing Methods for Custom Floor Mats
The printing method you choose depends on the base material, the complexity of your design, and your order volume. These are the four most common approaches.
1. Digital Printing (Heat Transfer)
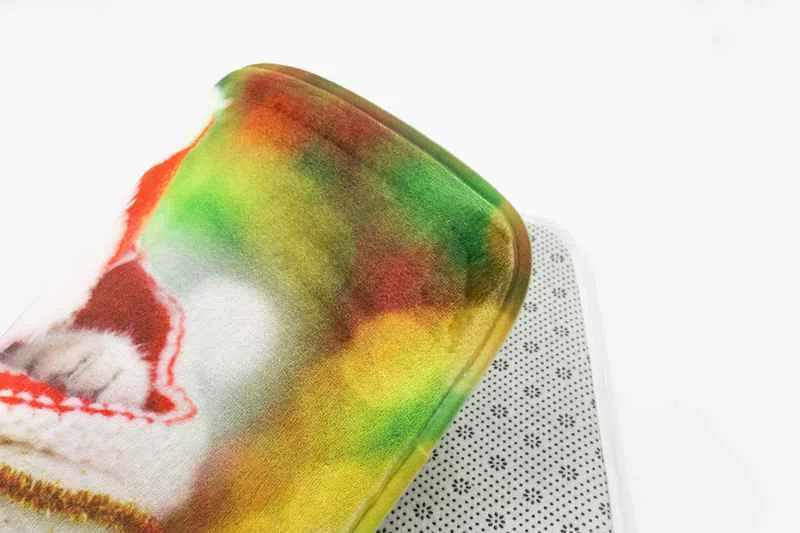
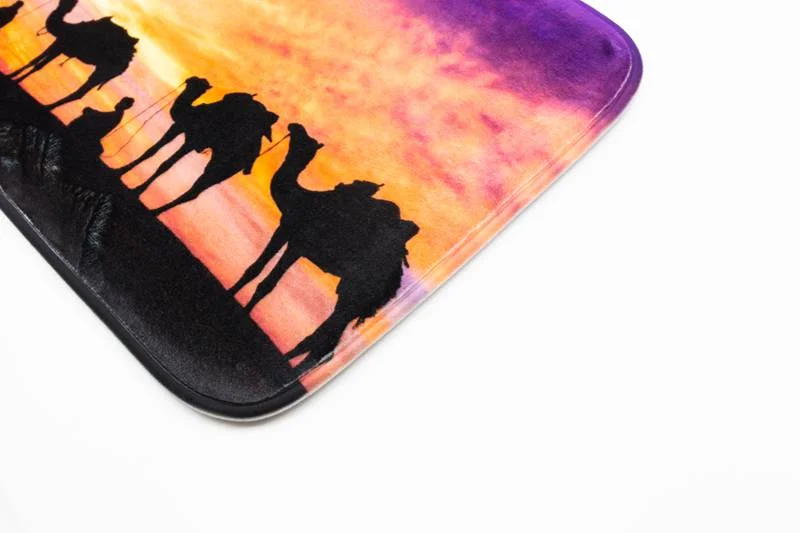
Digital printing transfers your design onto the mat surface using heat and pressure. It’s the go-to method for photographic images, gradients, and full-color artwork.
- Best for: Complex, full-color designs with photos or gradients
- Material compatibility: Microfiber, polyester, rubber-backed fabric mats
- Advantages: Unlimited colors, no setup cost, sharp detail
- Limitations: Higher per-unit cost than screen printing at large volumes; can fade with prolonged direct sun exposure
2. Screen Printing
Screen printing pushes ink through a mesh stencil, one color at a time. It’s the traditional workhorse for logo mats.
- Best for: Simple logos with 1-4 solid colors, high-volume orders
- Material compatibility: Rubber, coir, and most fabric surfaces
- Advantages: Very durable, excellent color opacity, low cost per unit at volume
- Limitations: Each color needs its own screen (setup cost); not suitable for photos or gradients
3. Dye Sublimation
Sublimation turns the ink into gas, which bonds directly into the fibers of the mat. The result is a print that won’t crack, peel, or wash off because it’s part of the material itself.
- Best for: Full-color photographic designs on polyester mats
- Material compatibility: Polyester-based mats only
- Advantages: Permanent print, no surface coating to wear off, vibrant colors
- Limitations: Requires polyester substrate; not suitable for rubber or coir
4. Embroidery and Flocking
For a premium, textured look, embroidery and flocking add a raised dimension to your logo.
- Best for: Logos that need a high-end, tactile feel
- Material compatibility: Fabric-backed mats
- Advantages: Premium appearance, extremely durable, sought after in hospitality
- Limitations: Highest cost; limited to relatively simple designs; lower color count
Choosing the Right Base Material
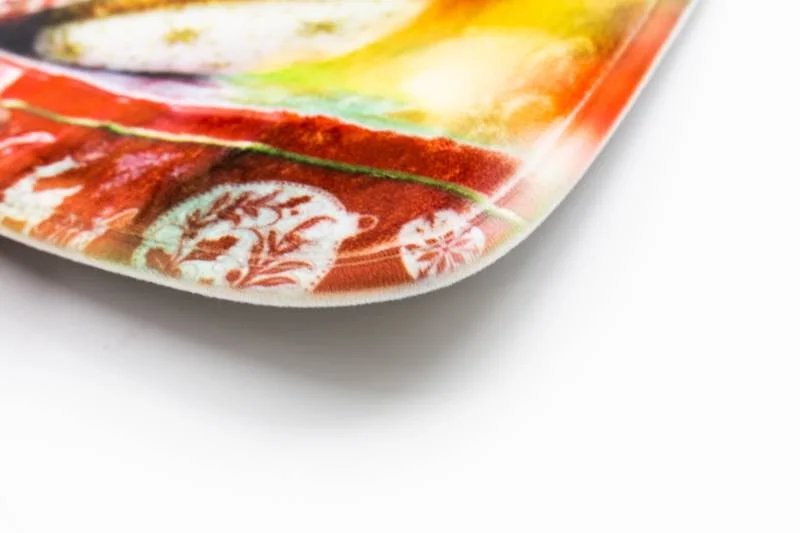
Your printing method and base material must work together. Here’s a quick compatibility overview:
| Material | Best Printing Method | Typical Use |
|---|---|---|
| Microfiber | Digital / Sublimation | Indoor entrance, retail |
| Polyester fabric | Dye sublimation | Photo-quality prints |
| Rubber backing | Screen printing | Logo mats, high traffic |
| Coir | Screen printing | Outdoor scraping mats |
| PVC foam | Digital | Anti-fatigue, kitchens |
Preparing Your Artwork
Good print results start with good files. Here’s what your manufacturer will typically ask for:
- Vector files preferred: AI, EPS, PDF, or SVG formats scale cleanly. If you only have a JPG or PNG, make sure it’s at least 300 DPI at final print size.
- Color mode: Supply files in CMYK for print production. A logo designed in RGB will look different when printed.
- Bleed and margins: Keep important elements at least 1 inch from the mat edge to avoid trimming issues.
- Minimum line weight: Thin lines and small text can disappear in screen printing. Keep lines at least 2pt and text at least 12pt for legibility.
- Pantone matching: If brand color accuracy is critical, provide Pantone references so the printer can match as closely as possible.
Standard Sizes for Printed Mats
- 18″ x 30″ (46 x 76 cm): Standard single-door entrance mat
- 24″ x 36″ (61 x 91 cm): Wider doorways and small retail entrances
- 3′ x 5′ (91 x 152 cm): Commercial entries, office lobbies
- 4′ x 6′ (122 x 183 cm): Large commercial doors, hotel entrances
- Custom sizes: Most manufacturers can produce to your exact dimensions for larger orders
How the Manufacturing Process Works
- Artwork review: The manufacturer checks your file for resolution, color mode, and printability, then sends a digital proof.
- Proof approval: You approve the layout, colors, and size. This is the stage to catch any errors.
- Sample production: For larger orders, a physical pre-production sample confirms the print quality and colors.
- Bulk printing: Production runs using the confirmed method and material.
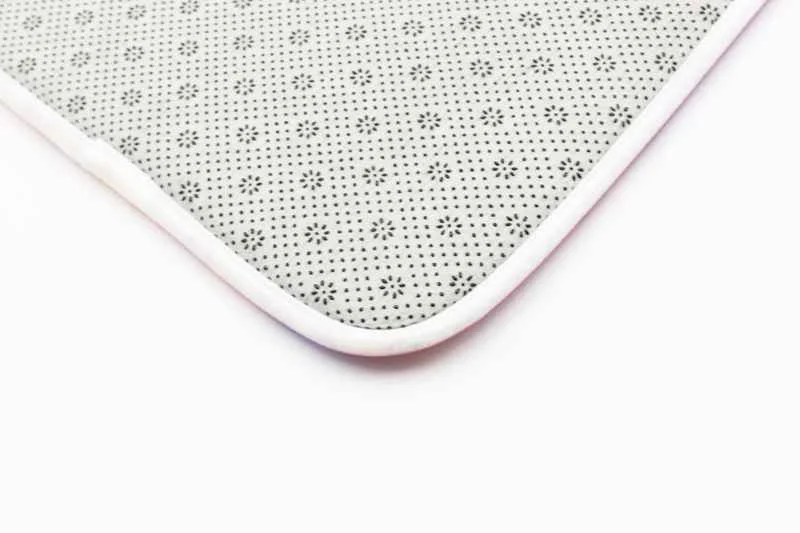
- Cutting and finishing: Mats are cut to size and edges are finished to prevent fraying.
- Quality inspection: Prints are checked for color accuracy, alignment, and adhesion.
- Packaging and shipping: Mats are packed for shipment, with custom retail packaging available.
Ordering in Bulk: What to Consider
Minimum Order Quantity
Most manufacturers set a MOQ for custom printed mats, often starting around 100-500 pieces depending on the printing method. Screen printing typically has a higher MOQ than digital because of screen setup costs.
Cost Factors
- Number of colors: More colors mean more screens (screen printing) or higher ink cost
- Order quantity: Unit price drops sharply as volume increases
- Material: Rubber and microfiber cost more than basic PVC
- Size: Larger mats use more material
- Finishing: Custom edges, backing upgrades, and packaging add cost
Lead Times
Typical production lead time for custom printed mats is 15-30 days after artwork approval, plus shipping time. Sea freight is significantly cheaper for large orders, while air freight is faster for urgent deadlines.
Packaging and Presentation
- Bulk cartons: Standard for wholesale orders, cost-effective but plain
- Poly bags with header cards: Good for retail shelf display
- Custom printed boxes: Best for premium branding and gift sets
- Rolled packaging: Reduces shipping volume for large mats
Care Instructions for Printed Mats
- Shake or vacuum regularly: Remove loose dirt before it works into the fibers
- Spot clean promptly: Blot spills with a damp cloth rather than scrubbing, which can damage the print
- Avoid harsh chemicals: Bleach and solvent-based cleaners can fade prints
- Machine wash only if specified: Many microfiber mats are machine washable; rubber-backed mats are usually hose-clean only
- Air dry: Avoid tumble drying, which can degrade the backing and print
Conclusion
Custom printed floor mats are a small investment with an outsized return. They keep your floors clean, reduce slip risk, and put your brand in front of every visitor — day after day, for years.
The key to a great result is matching the right printing method to the right material, supplying clean vector artwork, and working with a manufacturer who can guide you through proofs and samples. Do that, and you’ll end up with a mat that looks sharp and holds up to real-world traffic.
If you’re sourcing custom printed mats for retail, hospitality, or promotional use, we’d be glad to help with samples, pricing, and design guidance.